
DOM manipulation
DOM(Document Object Model) manipulation represents the whole HTML document.
When an HTML document is loaded in the browser, it becomes a document object. It represents the Html document. It has properties and methods. document object help to add dynamic content(modified or changed according to user inputs) to our web page.
We’ll look at some of the most popular ways to select components on a page using various methods.
Methods of the document object
document.getElementById(id): Find an element in a document using the element id.
document.getElementsByName(name): Find items in a document by their tag name.
document.getElementsByTagName(name): Find items in a document by their tag name.
document.findElementsByClassName(name): Find items based on their class names.
Accessing field value by the document object
<script type="text/javascript">
    function print(){
    var name=document.form.name.value;
    alert("Welcome: "+name);
    }
    </script>

    <form name="form">
    Enter FullName:<input type="text" name="name"/>
    <input type="button" onclick="print()" value="print"/>
    </form>
Output
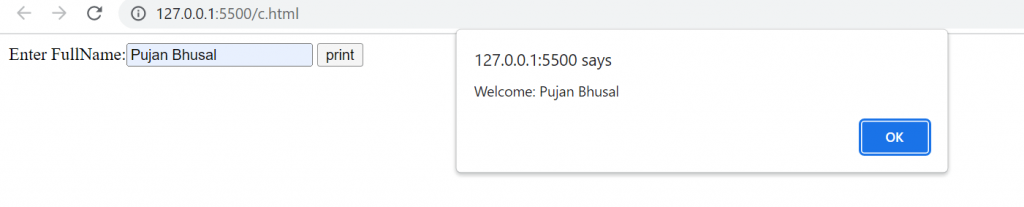
In this example, we’ll get the value of the input text from the user. The root element here is the document, which represents the HTML document.
the form is the name of the form.
name is the attribute name of the input text.
value is a property that returns the input text’s value.
How to Select DOM elements with the getElementById Method
Accessing field value by getElementById
The method document.getElementById() returns the element with the given id. To access the value of the input text, we can use the document.getElementById() method. However, we must define an id for the input field.
A simple example of the getElementById() method that prints the square of the given number.
<!DOCTYPE html>
<html>
<head>
<meta charset="utf-8">
<title>JavaScript getElementsByName Demo</title>
</head>
<body>
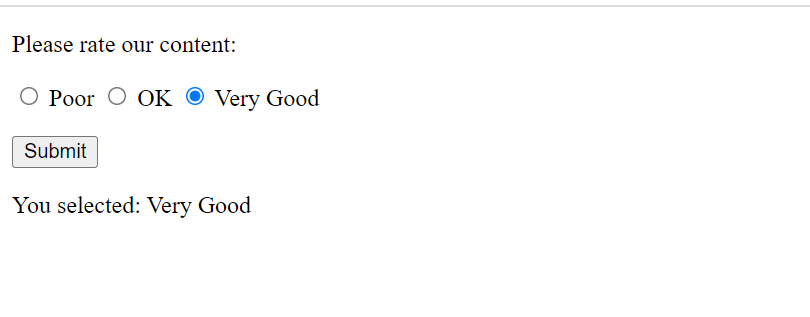
<p>Please rate our content:</p>
<p>
<label for="poor">
<input type="radio" name="rate" value="Poor" id="poor"> Poor
</label>
<label for="ok">
<input type="radio" name="rate" value="OK" id="ok"> OK
</label>
<label for="very-good">
<input type="radio" name="rate" value="Very Good" id="very-good"> Very Good
</label>
</p>
<p>
<button id="btnRate">Submit</button>
</p>
<p id="output"></p>
<script>
let btn = document.getElementById('btnRate');
let output = document.getElementById('output');
btn.addEventListener('click', () => {
let rates = document.getElementsByName('rate');
rates.forEach((rate) => {
if (rate.checked) {
output.innerText = `You selected: ${rate.value}`;
}
});
});
</script>
</body>
</html>
Output
How to Select DOM elements with the getElementsByTagName() Method
document.getElementsByTagName() method
The method document.getElementsByTagName() returns all elements with the specified tag name.
syntax
document.getElementsByTagName(“name”)
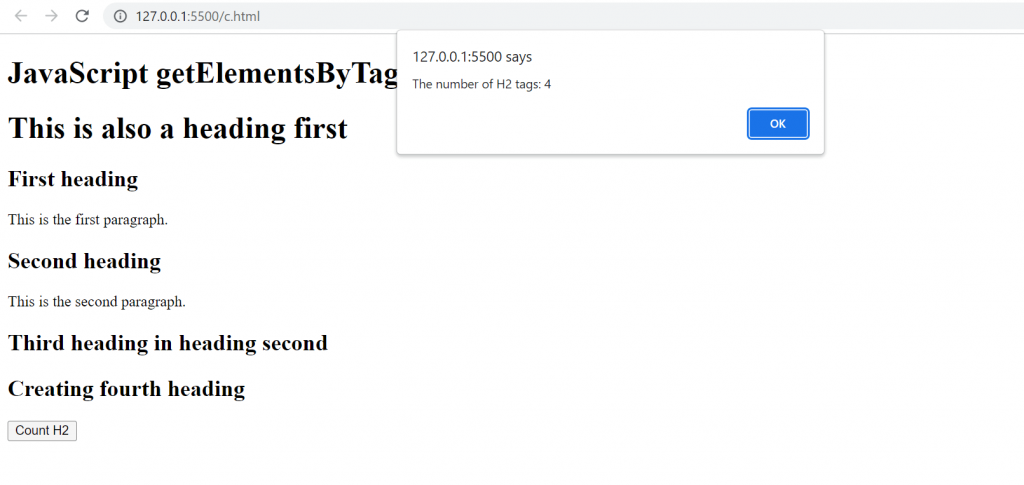
The following example shows how to specify the amount of H2 tags in a document using the getElementsByTagName() method.
<!DOCTYPE html>
<html>
<head>
    <title>getElementsByTagName() Demo</title>
</head>
<body>
    <h1>JavaScript getElementsByTagName() Demo</h1>
    <h1>This is also a heading first</h1>
    <h2>First heading</h2>
    <p>This is the first paragraph.</p>
    <h2>Second heading</h2>
    <p>This is the second paragraph.</p>

    <h2>Third heading in heading second</h2>
    <h2>Creating fourth heading</h2>

    <button id="btnCount">Count H2</button>

    <script>
        let btn = document.getElementById('btnCount');
        btn.addEventListener('click', () => {
            let headings = document.getElementsByTagName('h2');
            alert(`The number of H2 tags: ${headings.length}`);
        });
    </script>
</body>

</html>
Output
How to Select DOM elements with the getElementsByClassName() Method
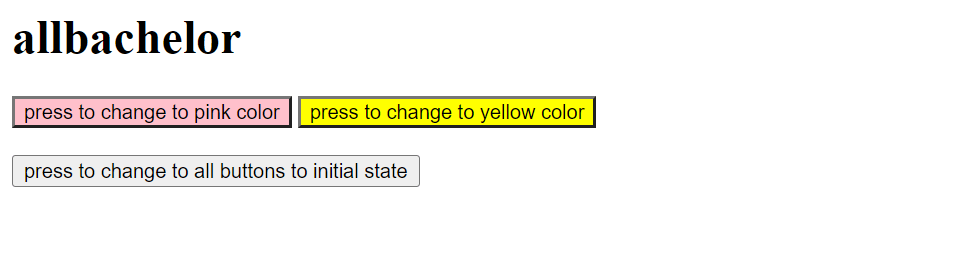
The getElementsByClassName() method returns an array-like of child element objects with a given class name. When the method is called on the document element, it searches the whole document and returns the document’s child elements.
Example to change color after pressing the button
<!DOCTYPE html>
<html>
<head>
    <title> Example DOM getElementByClassName() Method</title>

</head>
<body>
    <h1>allbachelor</h1>
    <div>
        <button onclick="pink()" class="black pink">
            press to change to pink color
        </button>

        <button onclick="yellow()" class="black yellow">
            press to change to yellow color
        </button>
        <br>
        <br>
        <button onclick="black()">
            press to change to all buttons to initial state
        </button>
    </div>
    <script>
    function pink() {
        document.getElementsByClassName('pink')[0]
        .style.backgroundColor = 'pink';
    }

    function yellow() {
        document.getElementsByClassName('yellow')[0]
        .style.backgroundColor = 'yellow';
    }

    function black() {
        var elements = document.getElementsByClassName('black');
        for(var i = 0; i < elements.length; i++) {
            elements[i].style.backgroundColor = 'black';
        }
    }
    </script>
</body>

</html>
Output
How to Set innerHTML
InnerHTML
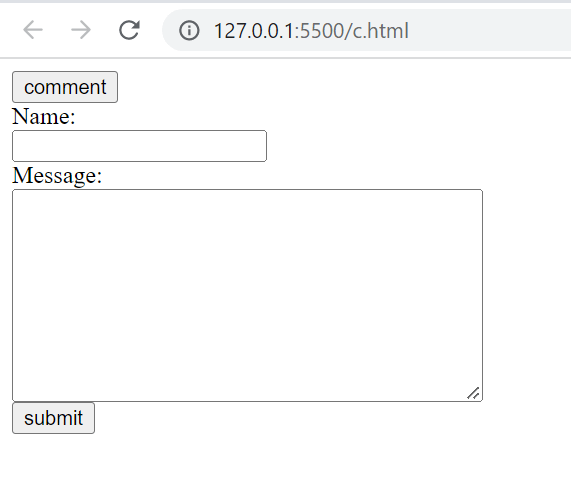
The innerHTML property can be used to write the dynamic Html(different content and provide user interaction) on the Html document. It allows you to read and modify everything in a DOM element (HTML tag). It’s typically used in web pages to generate dynamic Html like registration forms, comment forms, and links.
We’re dynamically writing the Html form within the div with the id local in this example. By naming the document, we are identifying its position. function getElementById()
<html>
<body>
<script type="text/javascript" >
function displaycomment() {
var data="Name:<br><input type='text' name='name'><br>Message:<br><textarea rows='9' cols='40'></textarea><br><input type='submit' value='submit'>";

document.getElementById('local').innerHTML=data;
 }

</script>
<form name="myForm">
<input type="button" value="comment" onclick="displaycomment()">
<div id="local"></div>
</form>
</body>
</html>
How to Set InnerText
The innerText property can be used to write the Html document’s editable text. Text will not be interpreted as Html text but as simple text in this case. It’s usually used in web pages to generate dynamic content, such as writing validation messages, password strength, and so on, and to give the text an appearance.
The main difference between innerHTML and innerText is that innerText returns all of an element’s text, as well as all of its child elements. inner Html returns all text contained by an element, including Html tags.
In this example, Displaying the strength of a password after filling key
<!DOCTYPE html>
<html>
<body>
<script type="text/javascript" >
function pass() {
var message;
if(document.myForm.userPass.value.length>6){
message="Strong";
}
else{
message="Week";
}
document.getElementById('local').innerText=message;
 }

</script>
<form name="myForm">
<input type="password" value="" name="userPass" onkeyup="pass()">
Strength:<span id="local">no strength</span>
</form>

</body>
</html>

We get a strong password message After filling 7 or more than 7 key letter
